|
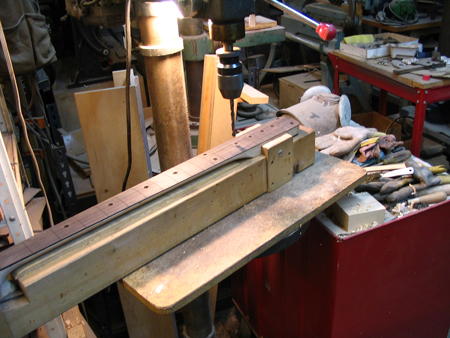
Fretted AEB-2 necks get 8mm white pearl marker dots on the surface of the fingerboard. After layout, the shallow holes for the dots are drilled in the drill press.
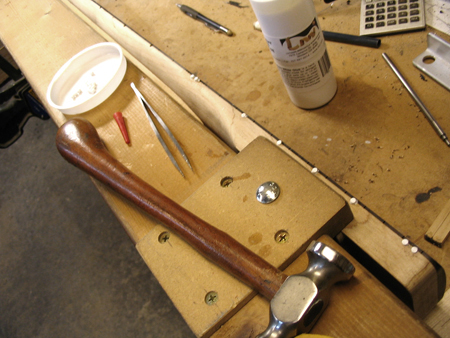
I like to use 1/8" white plastic for the side marker dots. After layout, the holes are drilled and small pieces of plastic rod are glued in and trimmed off.
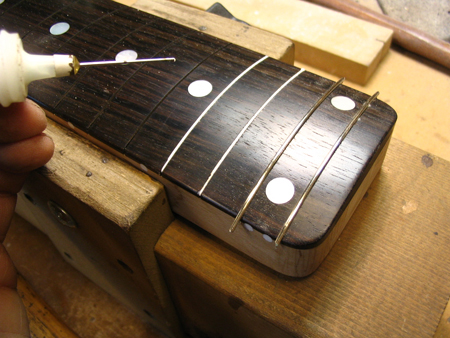
Finally, the frets are installed on the AEB-2 neck. I use the tiny #764 mandolin-size fretwire. The fretwire is rolled to a 3" radius in a Waverly fretwire roller and clipped into working lengths. I use a small needle-tipped bottle to lay a fine bead of LMI Instrument Glue down into each slot. The frets are tapped in and seated with a hammer and a plastic block. The glue locks the frets in and causes the wood to swell tightly around the fret tang.
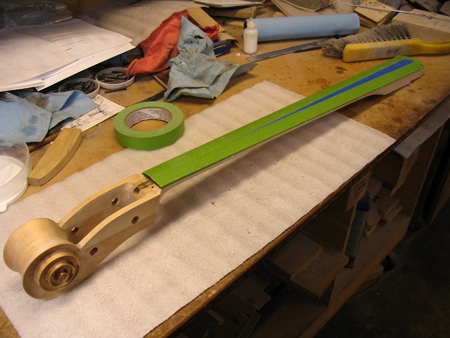
The finished neck is masked off and ready for paint!
|
|
|
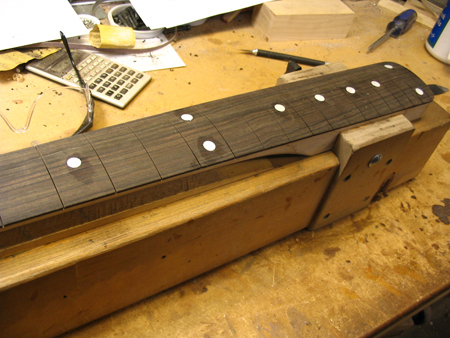
The pearl surface dots are glued and lightly tapped into the holes. When dry, a smooth fine file is used to trim them down to the fingerboard surface.
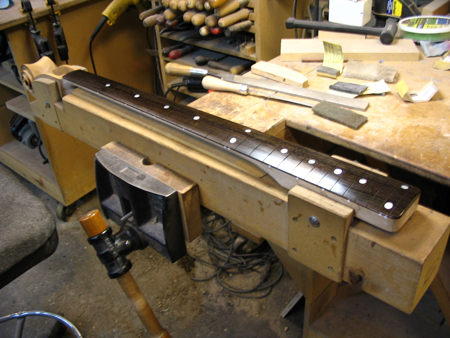
The fingerboard is given a final sanding and is brought up to a high polish. Two coats of StewMac's Fingerboard Oil are rubbed in and buffed off. A fretted AEB-2 neck is shown; A fretless AUB-2 neck would be finished at this point.
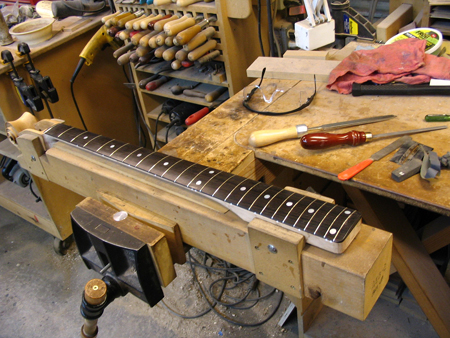
When the glue is dry, the frets are trimmed with clippers and leveled with a large flat file and an oilstone. Then they are individually shaped, crowned and polished. It's about 2 hours of tedious work!
|
Back To The Start Of Necks..
|

