AEB-2 & AUB-2 Scroll Basses
Design and Construction Details:
Applying The Paint
Getting a good finish on these instruments has been a real headache. With the F-hole cutouts
in the body and the intricate scroll headstock, the AEB-2 is a painter's nightmare! Initially,
I had the painting done by two friends of mine who are expert instrument painters, but we had
all kinds of problems, and I wasn't getting the results that I wanted. Finally, I learned to
do the painting myself, and developed some interesting techniques that seem to work best for
this instrument.
The earliest prototypes were painted by Pat Wilkins in polyester, as is typically used on
most production guitars these days. Pat does nice work, but to me the finish was much too
thick and candy-like for the way I wanted my instruments to look. The polyester softened
all the crisp edges of the body and headstock, because it seems to flow in a way that rounds
off corners.
Next, I had Michael DeTemple paint some of the prototypes in nitrocellulose lacquer, like the
original Ampegs. This took way too many hours of labor, and the total length of time from
start to finish was just unacceptable. It took more than 20 coats, with repeated wet sanding
between coats. Michael probably still has nightmares about scroll headstocks! We also never
really got the gloss and the look that I wanted, although the colors were very rich. We
might have gotten there eventually, but a lacquer finish would have added at least $500 to
the price of the instrument.
The system I'm using now is polyurethane, which has a nice, rich gloss
even when applied in thin coats. I like a thin overall finish on the AEB-2, leaving some of
the texture of the grain showing on the flat surfaces, and keeping all of the edges crisp.
On the classic black/red sunburst instruments, I fill the grain with black polyurethane to
make it really stand out, then color the bare wood with a mixture of red and yellow SolarLux
stains. The black edges are sprayed in polyurethane, and the finish is completed
with two coats of clear polyurethane. I'm currently using DuPont's ChromaBase for the base
and color coats, and PCL's EuroClear for the clear coats.
On the back of the neck, I've always preferred the silky smooth feel of a "tung oil" finish.
I don't think that anybody actually uses genuine tung oil on instrument necks these days;
what's commonly called a "tung oil" finish is actually a thin polymerized varnish that's
wiped on and rubbed to a satin sheen. My favorite is the classic Birchwood-Casey Tru-Oil
that's been the standard finish on gunstocks for decades. It's smooth and durable, and can
easily be touched up and recoated as it wears over the years.
My natural finish necks are sanded to a higher level of perfection and completely coated with
Tru-Oil, including the headstock and heel. On a sunburst finish neck, the headstock and heel
are finished in the stain and polyurethane sequence similar to the body, but the clear area
on the back of the neck is finished in Tru-Oil over a light amber stain. I've worked
out a technique for smoothly blending the transition from the polyurethane to the Tru-Oil.
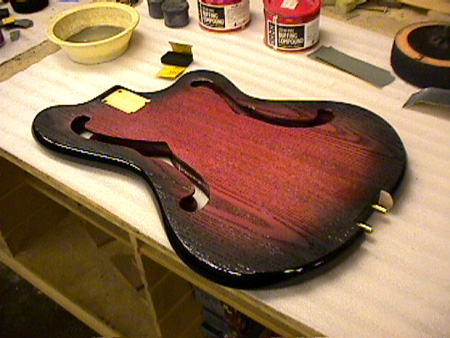
1.) After filling the edges of the body with Behlen Por-O-Pac grain filler, The entire body is
sprayed with black polyurethane. On the front and back surfaces, the black sinks into the grain
of the ash.
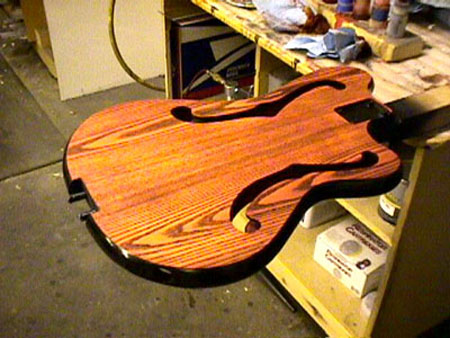
3.) A mixture of red and yellow stains is rubbed into the surfaces, leaving them a red-orange color.

5.) Black polyurethane is sprayed around the edges for the sunburst effect, followed by two
coats of clear polyurethane.
7) The body is buffed out to a gloss using a buffing compound that has been dyed black.
|
|
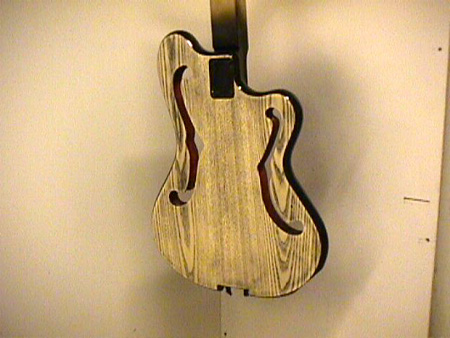
2.) The front and back surfaces are gently sanded smooth, leaving the black polyurethane down
in the grain.
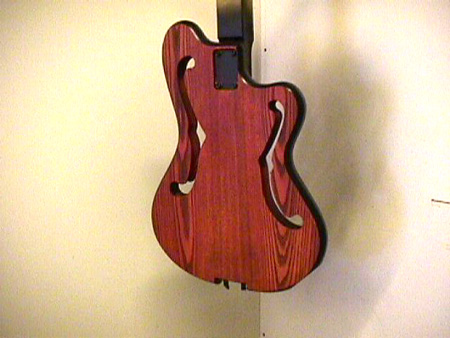
4.) Two coats of polyurethane tinted with red pigment are sprayed over the stain to darken the
shade of red and add depth to the color. The red-orange stain underneath adds a fiery glow at
the center.
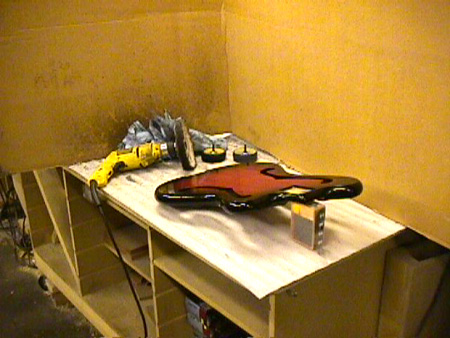
6.) After drying for several days, the body is wet sanded to flatten the top surfaces, but leaving
the valleys of the grain.
|
|
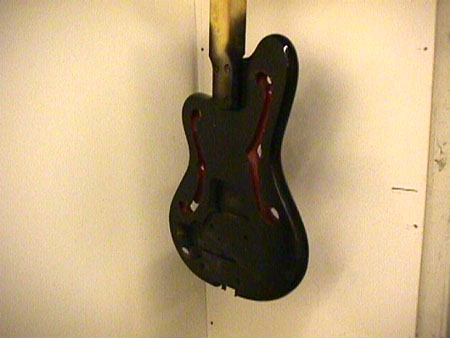
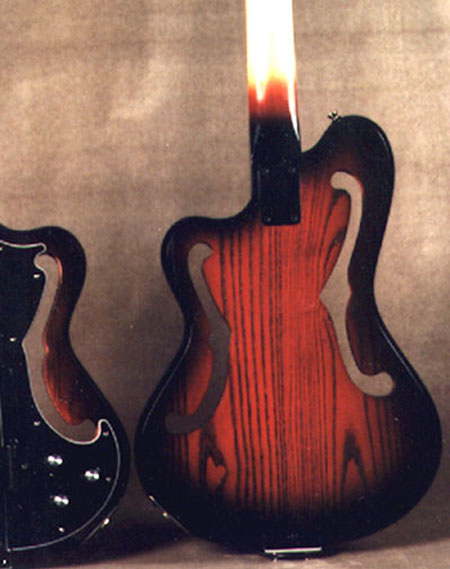 The finished sunburst color scheme.